Many of our customers who buy mannequins are online retailers and they often struggle with how to get the best product images for ecommerce. This two part article reprinted from the Pixelz.com website has helpful tips.
Pixelz is the leading product image editing service for internet retailers, bloggers, designers, photographers, and webmasters.
The ecommerce industry changes constantly. However, although trends do come and go with each season, there are a few things that must remain the same—especially in apparel photography.
In this post, we will identify seven big mistakes that many product photographers make and discuss how to avoid them to create stunning inventory images!
Mistake #1: Not Preparing the Garment
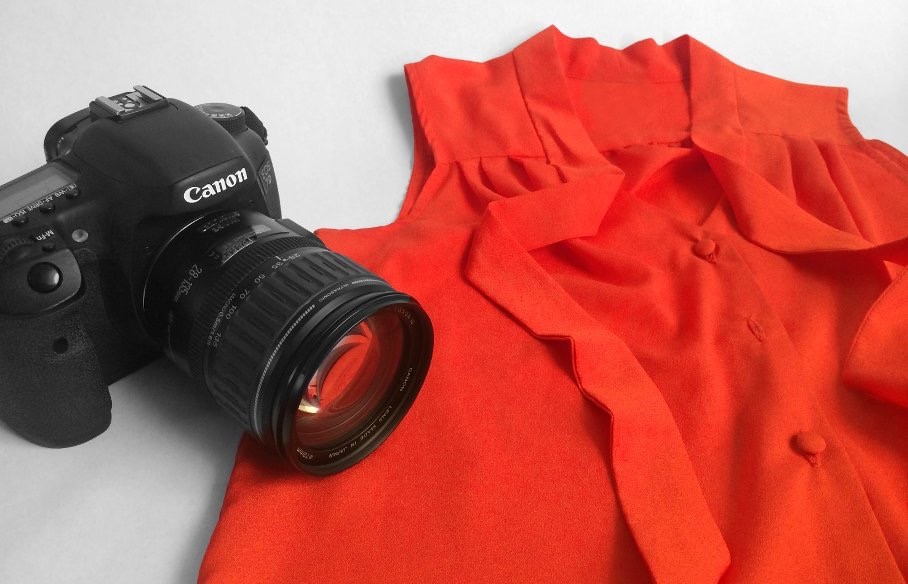
You want your products to look their best so that you can showcase them to customers. However, as you may personally understand, clothing can become wrinkled and creased, and even begin to look worn from storage and transport.
Sometimes, clothing samples are even received in old, tattered, or even unfinished conditions! Preparing garments to be photographed the most crucial starting points for photographing apparel, and yet many apparel photographers skip this step and prefer to rely on
Photoshop to fix wrinkles, stains, and other mistakes accrued while storing or transporting the product.
However, Photoshop isn’t magical; it takes time and expertise to master advanced editing techniques, and all edits that you make are “destructive” to the image, compromising some image quality.
Because of this, it’s best to rely on Photoshop only to add final touches and color correction to your images and ensure that you capture the garment as perfectly as you can in camera.
Take care of your product and make it look its best before photographing it!
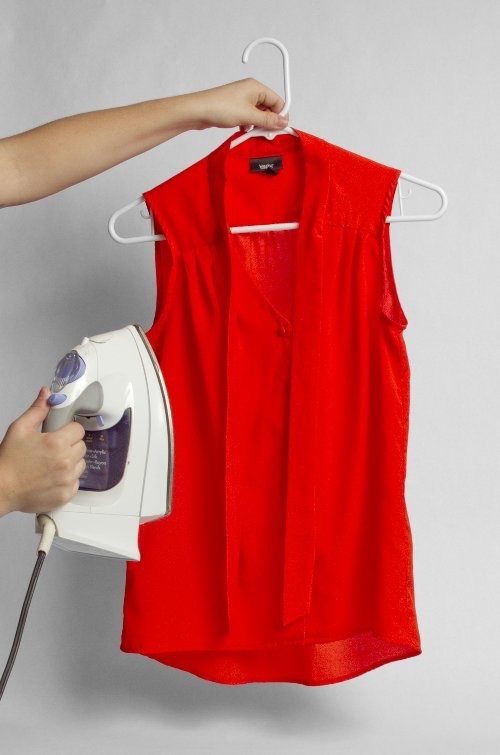
It’s important to thoroughly examine your product from top to bottom, inside and out. Are there any tags, stickers, and other types of identifying materials that need to be removed? Do so. Has the product become wrinkled or creased during storage? Iron or steam it.
Use the resources that are available to you to fix other damages and distractions that you might come across. In particular, lint rollers and tape are great for removing dust and strings from fabrics.
In some cases, samples are wrong upon arrival due to last-minute design changes (e.g. fit, colors, patterns, etc.). Make sure that you understand design changes for each garment so that you can edit the sample accordingly in Photoshop or make the decision to wait to photograph the actual sample that will be sold.
Mistake #2: Not Utilizing A Mannequin or Live Model
Many apparel photographers overlook the importance of communicating shape and fit to customers by photographing garments being worn by mannequins or live models.
Instead, they simply lay clothing flat or photograph it on hangers. This is a huge mistake!
Photographing a garment on a mannequin or a live model is perhaps the best way to showcase that garment’s shape and encourage customers to visualize it being worn by themselves.
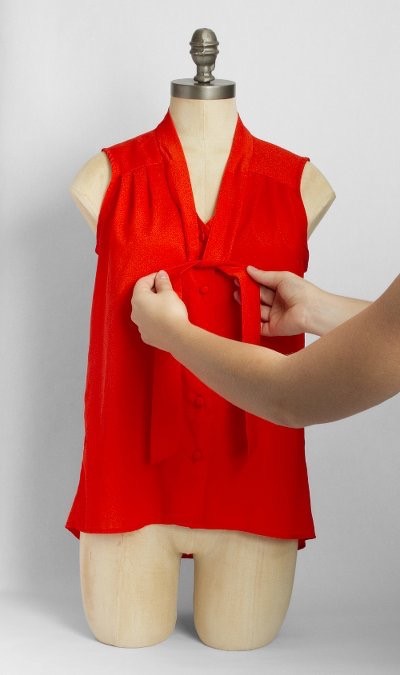
With a little styling, mannequins can really flatter your products!
Models make clothing come to life, but when models can’t be used due to budget or time constraints, a mannequin is the next best thing you can use with a very low budget, if you purchased used mannequins.
Allowing the customer to see the shape and natural draping of each product will give them a realistic idea of how the garment will fit on them—not to mention a higher quality shopping experience. A little styling can go a long away, too.
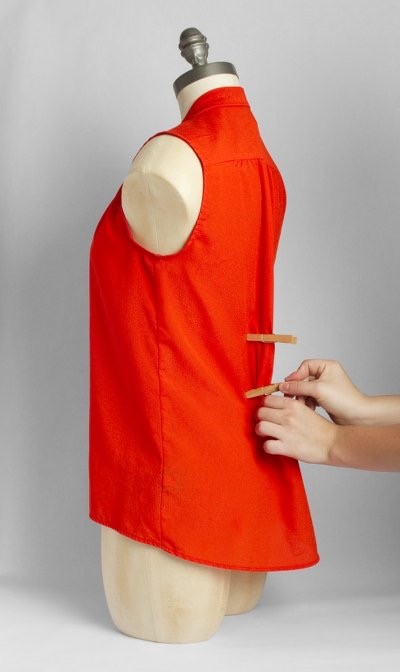
If your garment seems to be too big for your mannequin, try fitting it closer to your mannequin by pinning it and tucking your garment so that it is styled to fit properly.
Photographing your products on mannequins also allows you the opportunity to create a classy post production technique called the ghost mannequin effect. You can purchase ghost mannequins here.
Mistake #3: Not Providing Enough Imagery
Contrary to popular belief, one or two images of each product is simply not enough to give customers an accurate feel for the cost-effectiveness and quality of your inventory. Therefore, it’s important to give customers as much information as possible about each product by uploading at least 3 images per product—and preferably 5-10.


At the very least, show a front, side, and back view of the product, along with a detail shot.
Many ecommerce websites will allow you to upload 9-12 images for each product set, but many retailers don’t take advantage of that extra opportunity to promote their products.
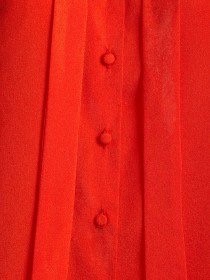
Whenever possible, photograph as many angles of your products as possible. At the very least, photograph the standard front, side, and back view of each product, and then supplement that with close-ups of important product embellishments, such as buttons, zippers, or embroidery.
The more images of your product that you upload, the more the customer will come to understand about the product. This will provide them with a better shopping experience and demonstrate the quality of your products, as well as ensure that the customer is satisfied when the product arrives.
To get ideas about additional ways to photograph products, read our Ultimate Guideline to maximize your Apparel, Footwear and Accessories product listings.