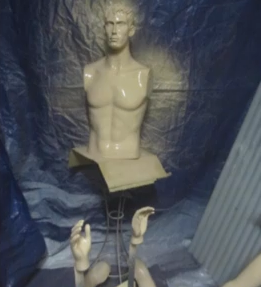
For minor DIY mannequin repair projects we sell replacement parts at Mannequin Madness for both mannequins and dress forms.
However since we don’t do repairs ourselves, we find examples online of tutorials from other people to share with you. We have this video playlist on youtube and printed a range of printed tutorials here.
Below is an example of printed tutorial on fixing a broken shoulder fitting.
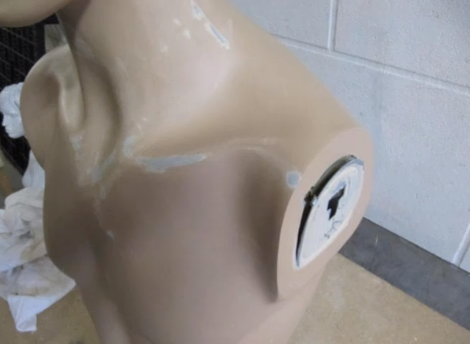
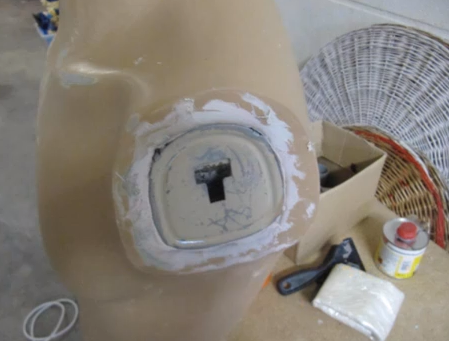
Step 1. Remove the metal fixture used to attach the arm to the body of the mannequin.
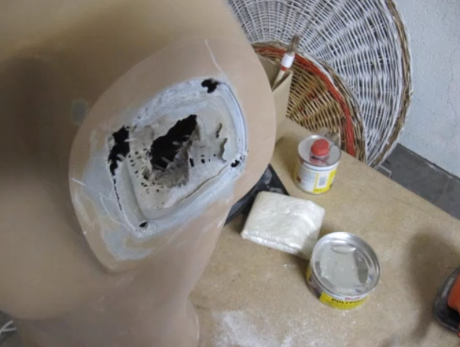
You should see the culprit once you’ve removed the metal. Lets fill in those loose holes
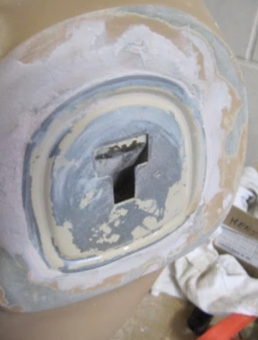
Step 2. Fill the holes with a polyfiber putty. (The one used here is by Soudal)
Be sure to use enough polyfiber.
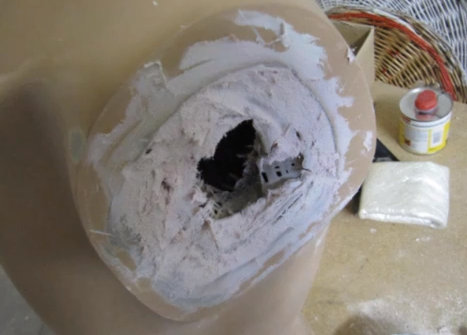
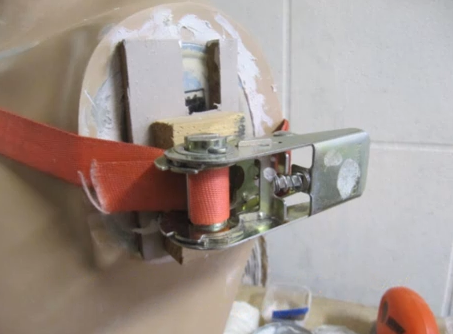
Step 3. Now put the metal piece back into place and affix it firmly with a ratchet belt. Allow to full dry .
(Dry times depend on the polyfiber directions)
Step 4. Once it dries, fill in any remaining spaces with polyfiber and allow to dry again
(Step. 4.5 Sand smooth so the arm will fit well when placed back on the body of the mannequin)
Now for the rest of the mannequin. The following are great if you have an old mannequin with defects or if you want to update your mannequin with new paint.
Step 1. Sand down the whole body of the mannequin.
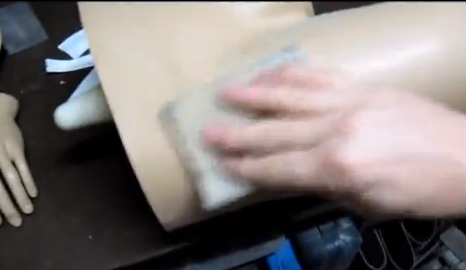
After sanding, wipe the mannequin clean of any particles
Step 2. Once the mannequin is clean and dry, it’s ready for the first coat of paint. The paint used here is a water-based paint.
If there is enough original paint left on the mannequin after sanding you will not need to prime the piece.
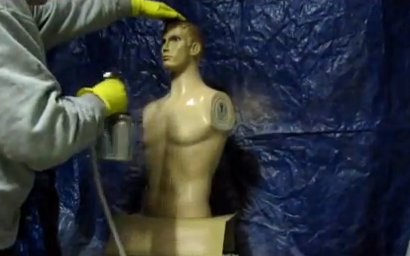
Step 3. Allow the first coat of paint to dry before adding the second coat. (At least 2 hours)

The finished product!