If you are selling a used mannequin and the buyer is out of state, the biggest challenges you will face is shipping the mannequin. Not only are shipping costs expensive, but packing the mannequin so that it will arrive undamaged is no easy feat.
At Mannequin Madness we ship hundreds of used mannequins a year. Many of the mannequins are one of a kind. So if the item arrives damaged, there is no replacement. Even with insurance, the item is not available to be purchased elsewhere.
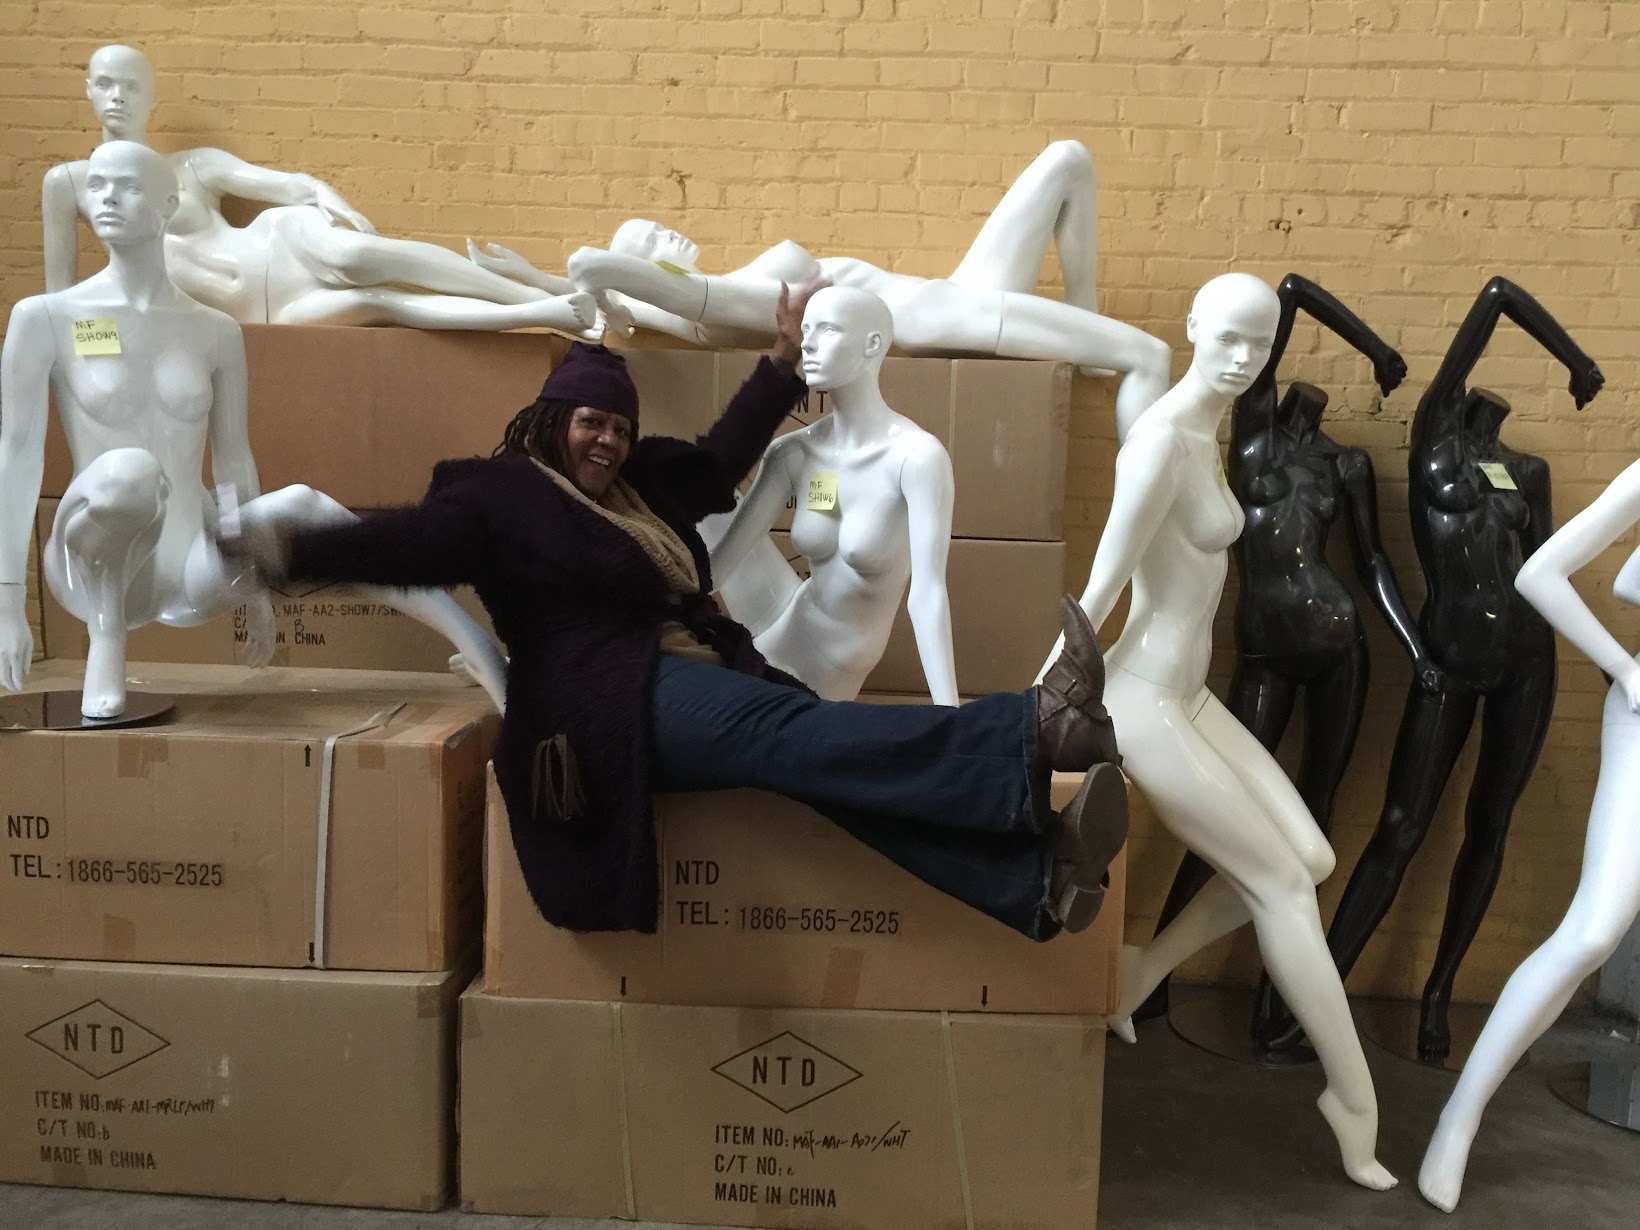
Unlike new mannequins which are shipped in boxes like the ones below, many vintage mannequins, especially ones that are one solid piece will not fit in boxes like these.
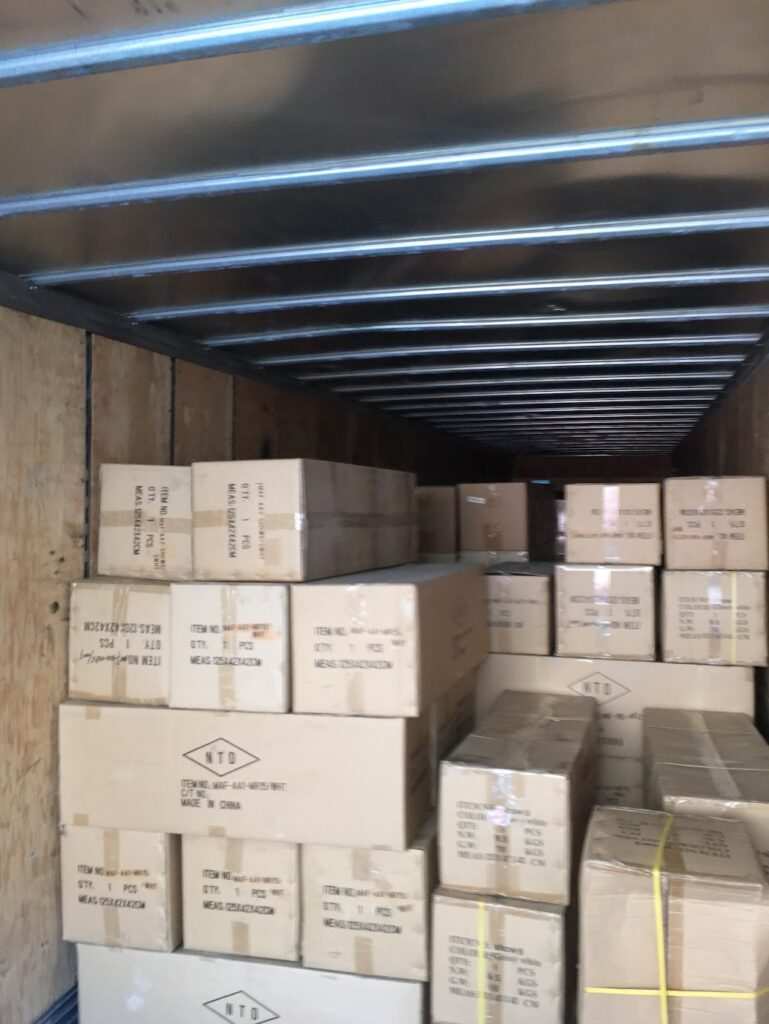
So we had to create a packing system that would withstand the battering and manhandling that occurs during shipment. Thanks to these packing procedures developed by our logistics manager, Eric W. Brown, we rarely have complaints about mannequins arriving damaged. Even when the boxes have arrived crushed or dented, 95% of the time the contents are still intact.
Unfortunately large packages seem to be handled in a very rough manner by the shipping companies. They charge a premium price for large boxes but that premium price is not because they are handling it with extra care. It is because of the space the box takes up in the truck.
So while we can’t guarantee that you will NEVER have a damaged mannequin, if you follow these procedures, we can strike the odds in your favor. Hope this helps.
Materials Needed:
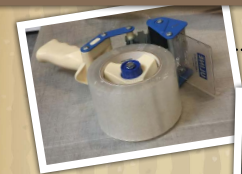
Tape: Carton sealing tape that is 2” wide and an industrial size tape gun holder.
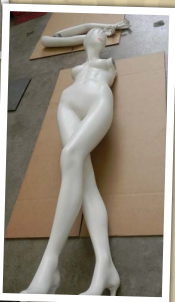
Boxes: If you are shipping a full size adult mannequin (versus a torso or child size mannequin) you will need 2 boxes that are 16”x 16”x 36”. Even if the mannequin splits apart at the waist you will need two boxes because you will telescope the boxes (more about that later). NOTE we have now switched to a box that is 48x16x16 for mannequins that separate at the waist.
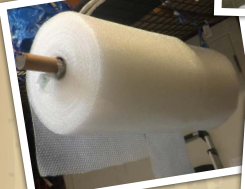
Bubble wrap: You can use loose bubble wrap but we recommend bubble wrap tubing which comes on a roll. We use the 12” wide to pack arms and the 24” wide for the legs and torso.
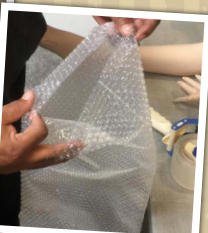
Bubble wrap tubing allows you to cut the desired length you need and then insert the appendage inside and it will be cushioned on all sides.
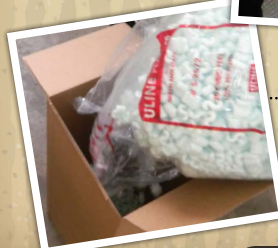
Packing material: Air pillows are the best, followed by packing peanuts.
You can also use shredded paper but you will need a lot more paper to provide enough cushioning and paper adds more weight to the box than air pillows or packing peanuts. The heavier the box, the more it cost to ship.
Please don’t skimp on the packing materials. This can make a HUGE difference in how the mannequins survives the journey.
Step 1A
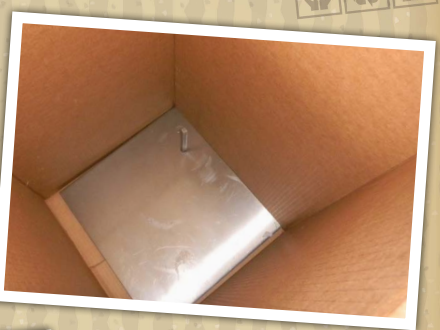
Disassemble the mannequin. Tape the bottom of one of the 16’”x 16” x 36” boxes and put in the mannequin stand first. Reinforce each seam on the box with tape.
If the base is metal, place it flat in the bottom of the box. If the rod is not soldered
to the base, remove it and tape it to the metal base.
The stand will be the first item you put in the box. If the stand is metal put some
tape on the bottom so that it will stick to the bottom of the box and not shift during transit. Place it flat in the bottom of the box. If the rod is not soldered to the base, remove it and tape it to the metal base.
The add air pillows or packing peanuts on top of the stand.
Step 1B
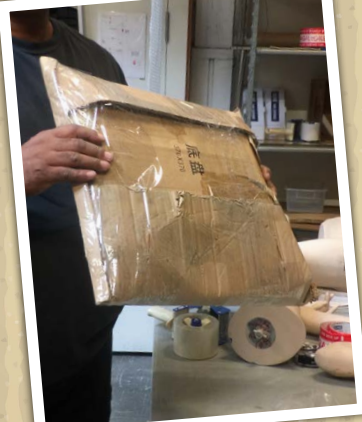
If the base is glass, remove the metal rod from the flange and wrap it in bubble wrap.
Then tape it to the base. If you have some old cardboard that is ideal to wrap around the
glass base. Otherwise use the bubble wrap tubing.
Step 1C
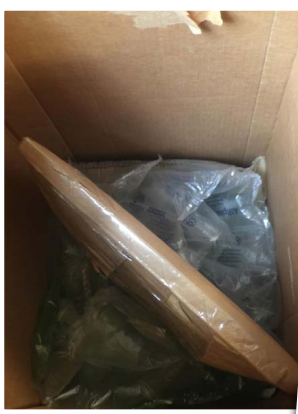
If you have a glass base put the air pillows or styrofoam peanuts in the bottom of the box BEFORE putting the base inside. And put the base in diagonally like this:
Step 2A
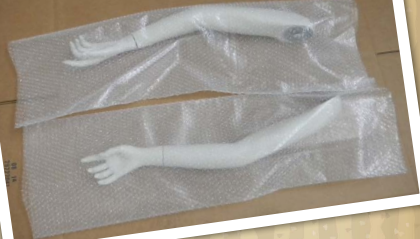
Unroll the 12” bubble wrap tubing and cut enough material to extend slightly past the length
of the arms. Then put the arms inside the tubing.
Step 2B
Fold over the end of the bubble wrap on top of the hands to create a cushion for the fingers so they don’t get broken during transit. Then tape the ends
closed. *
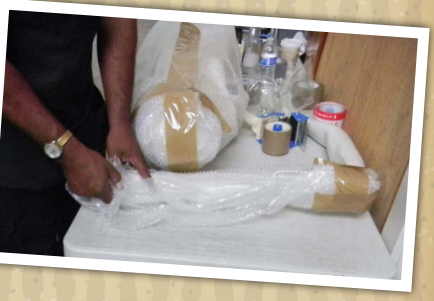
****If the hands detach you can take them off of the arms and wrap them individually for extra protection.
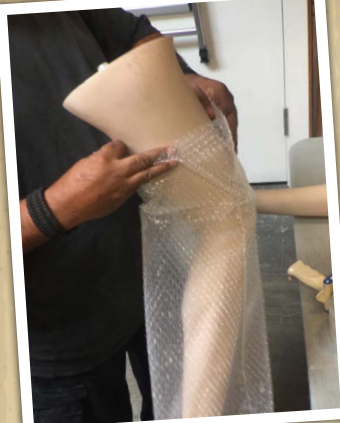
Step 3 If the mannequin is one solid piece and on leg detaches, then put one leg in the bubble wrap tubing and tape it closed.
Step 4
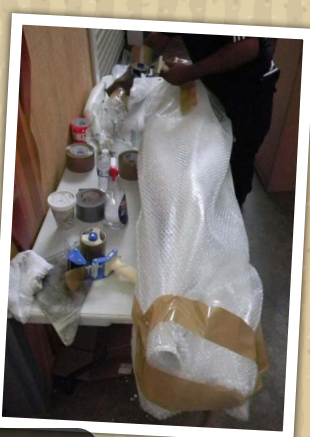
If the mannequin is one solid piece, then slide the the entire mannequin into the 24″ bubble wrap tubing and tape it closed. If the mannequins comes apart use the 24” bubble wrap tubing to wrap each appendage individually and close the bag with tape.
Step 5
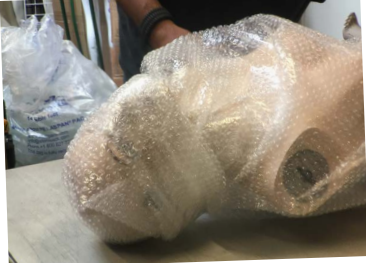
It is always helpful to fold extra bubble wrap over the face of the mannequin. ‘Cause if the face gets damaged during transit you can’t conceal the damage with clothing like you can if damage happens on other parts of the body.
Step 6
You will now need to telescope the boxes in order to finish the packing. NOTE: If the mannequin separates at the waist and you are using a 48x16x16 box you will not need to telescope the box. You can put the mannequin in the box starting with legs, followed by the torso and then put the arms and hands in the empty spaces.
Telescoping is the practice of using two or more boxes of the same size to extend the size of the box needed to ship the product. Start by taping the flaps of the box that would normally seal the box into an upright position.
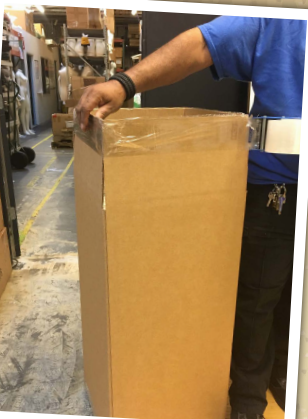
Step 7A Put the mannequin inside the box.

Step 7B
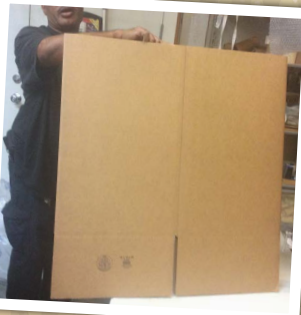
Measure how far the contents extend beyond the edge of the first box, add 8 inches to this number of measure. You will know how much to cut from the second box to compete the package.
Step 7C
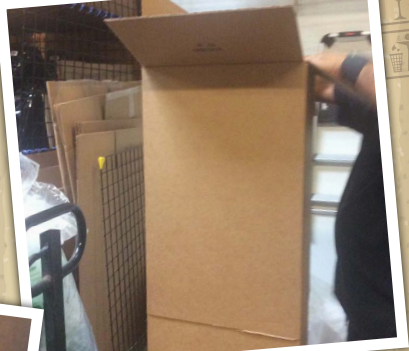
Place this box over the box with the mannequins. And tamp it down to get a good fit.
Step 7D
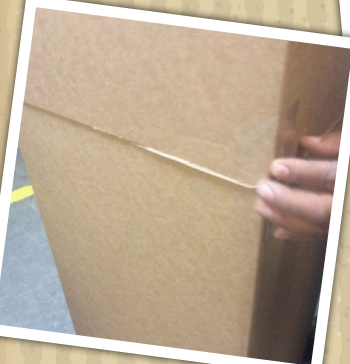
Add more packing material to fill all the empty spaces. Seal the top of the second box.
Then seal the seams together of the two boxes with a band of tape going vertically on each corner.
Step 7E
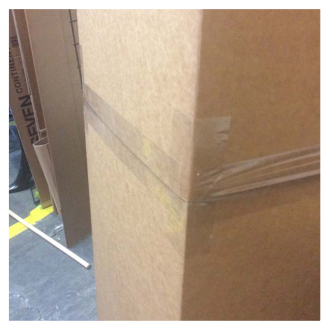
Then place one band of tape dead center between the boxes and go horizontally all the way around the boxes. Repeat with another band of tape on top of this one.
Step 7F
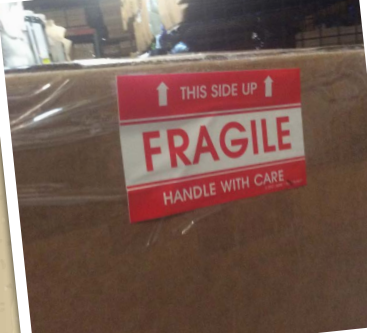
Add fragile stickers with the arrows facing the direction where the head of the mannequin is pointed . Voila !
Step 8A
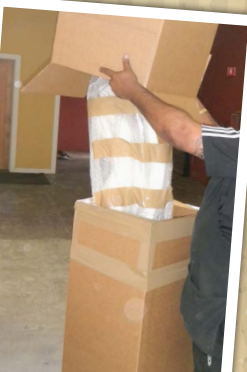
If the mannequin is one solid piece it will be tall enough so that you can telescope the boxes without having to cut the second one down to size. Just lift the flaps of the second box and slide it on the box with the mannequin.
Step 8B
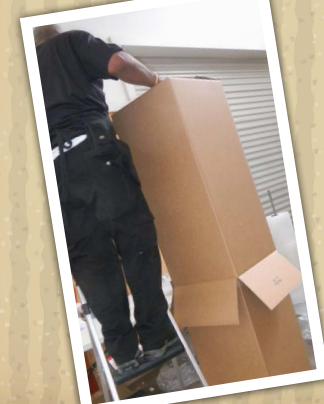
You will most likely need to stand on a step ladder in order to reach over the top to add
more packing materials and tape the top closed. Then seal the boxes as in steps 7d -7f.
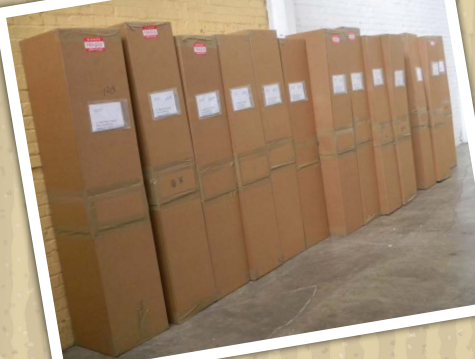
We put two labels on the box. One that is generated by the shipping carrier.
Then we put a large label with our name and address so if the shipping label comes off, they will have our return address.

We buy all of our packing supplies from Uline. Your local packaging store is also a good resource for packing materials. Sometimes they have recycled air pockets and styrofoam peanuts they will sell you at a deep discount.
Visit our website to shop for mannequins and dress forms, rent display pieces, or recycle your old mannequins.