This Youtube video will show you how easy it is to photograph a garment using a ghost mannequin mannequin. Below the video is a written version of the tutorial including the product and supplies you will need.
For more articles on ghost photography click here and to purchase a male, female or child ghost mannequin, visit MannequinMadness.com
By using a ghost mannequin and following this tutorial, you can drastically cut the time it takes to achieve this hollow man effect – which is usually done by photographing the clothes inside out and compositing the two images in post-production.
First, let’s run through what you’ll be needing in this tutorial.
The equipment you need
- Camera – Any camera will suffice but a Canon EOS 5D Mk III is recommended as a standard for professional product photography
- Studio lighting – Continuous cool LED lamps are recommended to ensure exposure, shadows and contrast are kept consistent
- Your blazer
- Styling clips and pins – A combination of clips and pins can be used to give the blazer a more fitted look
- A ghost mannequin – These modular mannequins have removable chest and arm pieces that become invisible in-shot.
If you are based in the United States or Canada, see the full range of invisible mannequins for product photography here.
If you are based in Europe, see a full range of invisible mannequins for product photography here.
Taking a front shot of the blazer
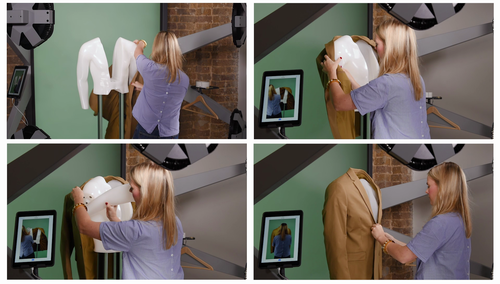
1. Remove the right pieces from the mannequin
Because the cuff of the blazer is quite deep, we’re removing as much of the chest as possible to show the inner lining.
We’re also removing the bottom parts so the bottom inner lining can be shown.
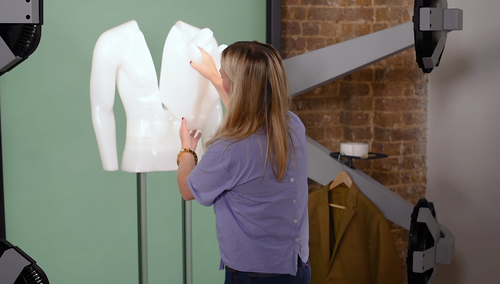
Once the pieces are removed, simply dress the mannequin as shown on the right.
 3. Align and straighten shoulders
It looks much more professional if the shoulders are always level with each other.
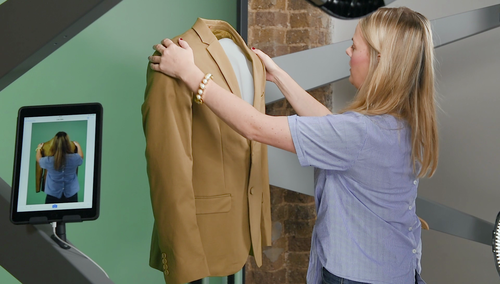
Pull down the sleeves so they are even and make sure the bottom of the blazer is straight.
You can also use styling clips and pins at the back to create a tighter fit on your chosen mannequin.

